NY Studio E-Design Reveal

I'm so excited to share this project with you all! I met this client, now friend, Kilee Hughes, just as I was in my last few months in my NY studio, planning to move to MI. She had just moved into my same apartment building from Australia. We got a long smashingly so, when a year later, she contacted me to help her with some final details to bring her decor to life, of course I couldn't wait to help her.

Kilee has fabulous taste so it was only a matter adding some texture, pops of color, switching up some furniture pieces & layering on a few fun accents.

Starting with her entry, and I'm not a pro so didn't capture it perfectly, I accessorized her console by leaning an existing art piece she had against the wall, then flanking it with glass bottles & palm fronds to add some height. The beachy vignette is the perfect introduction for Kilee's relaxed resort inspired studio. 

 
static1.squarespace.jpg
 

In her dining area, we had been on the hunt for some directors chairs for some time so I was thrilled to see that Suzanne Kasler's new outdoor line for Ballard included these gorgeous campaign chairs - they are the perfect fit for the dining area. 


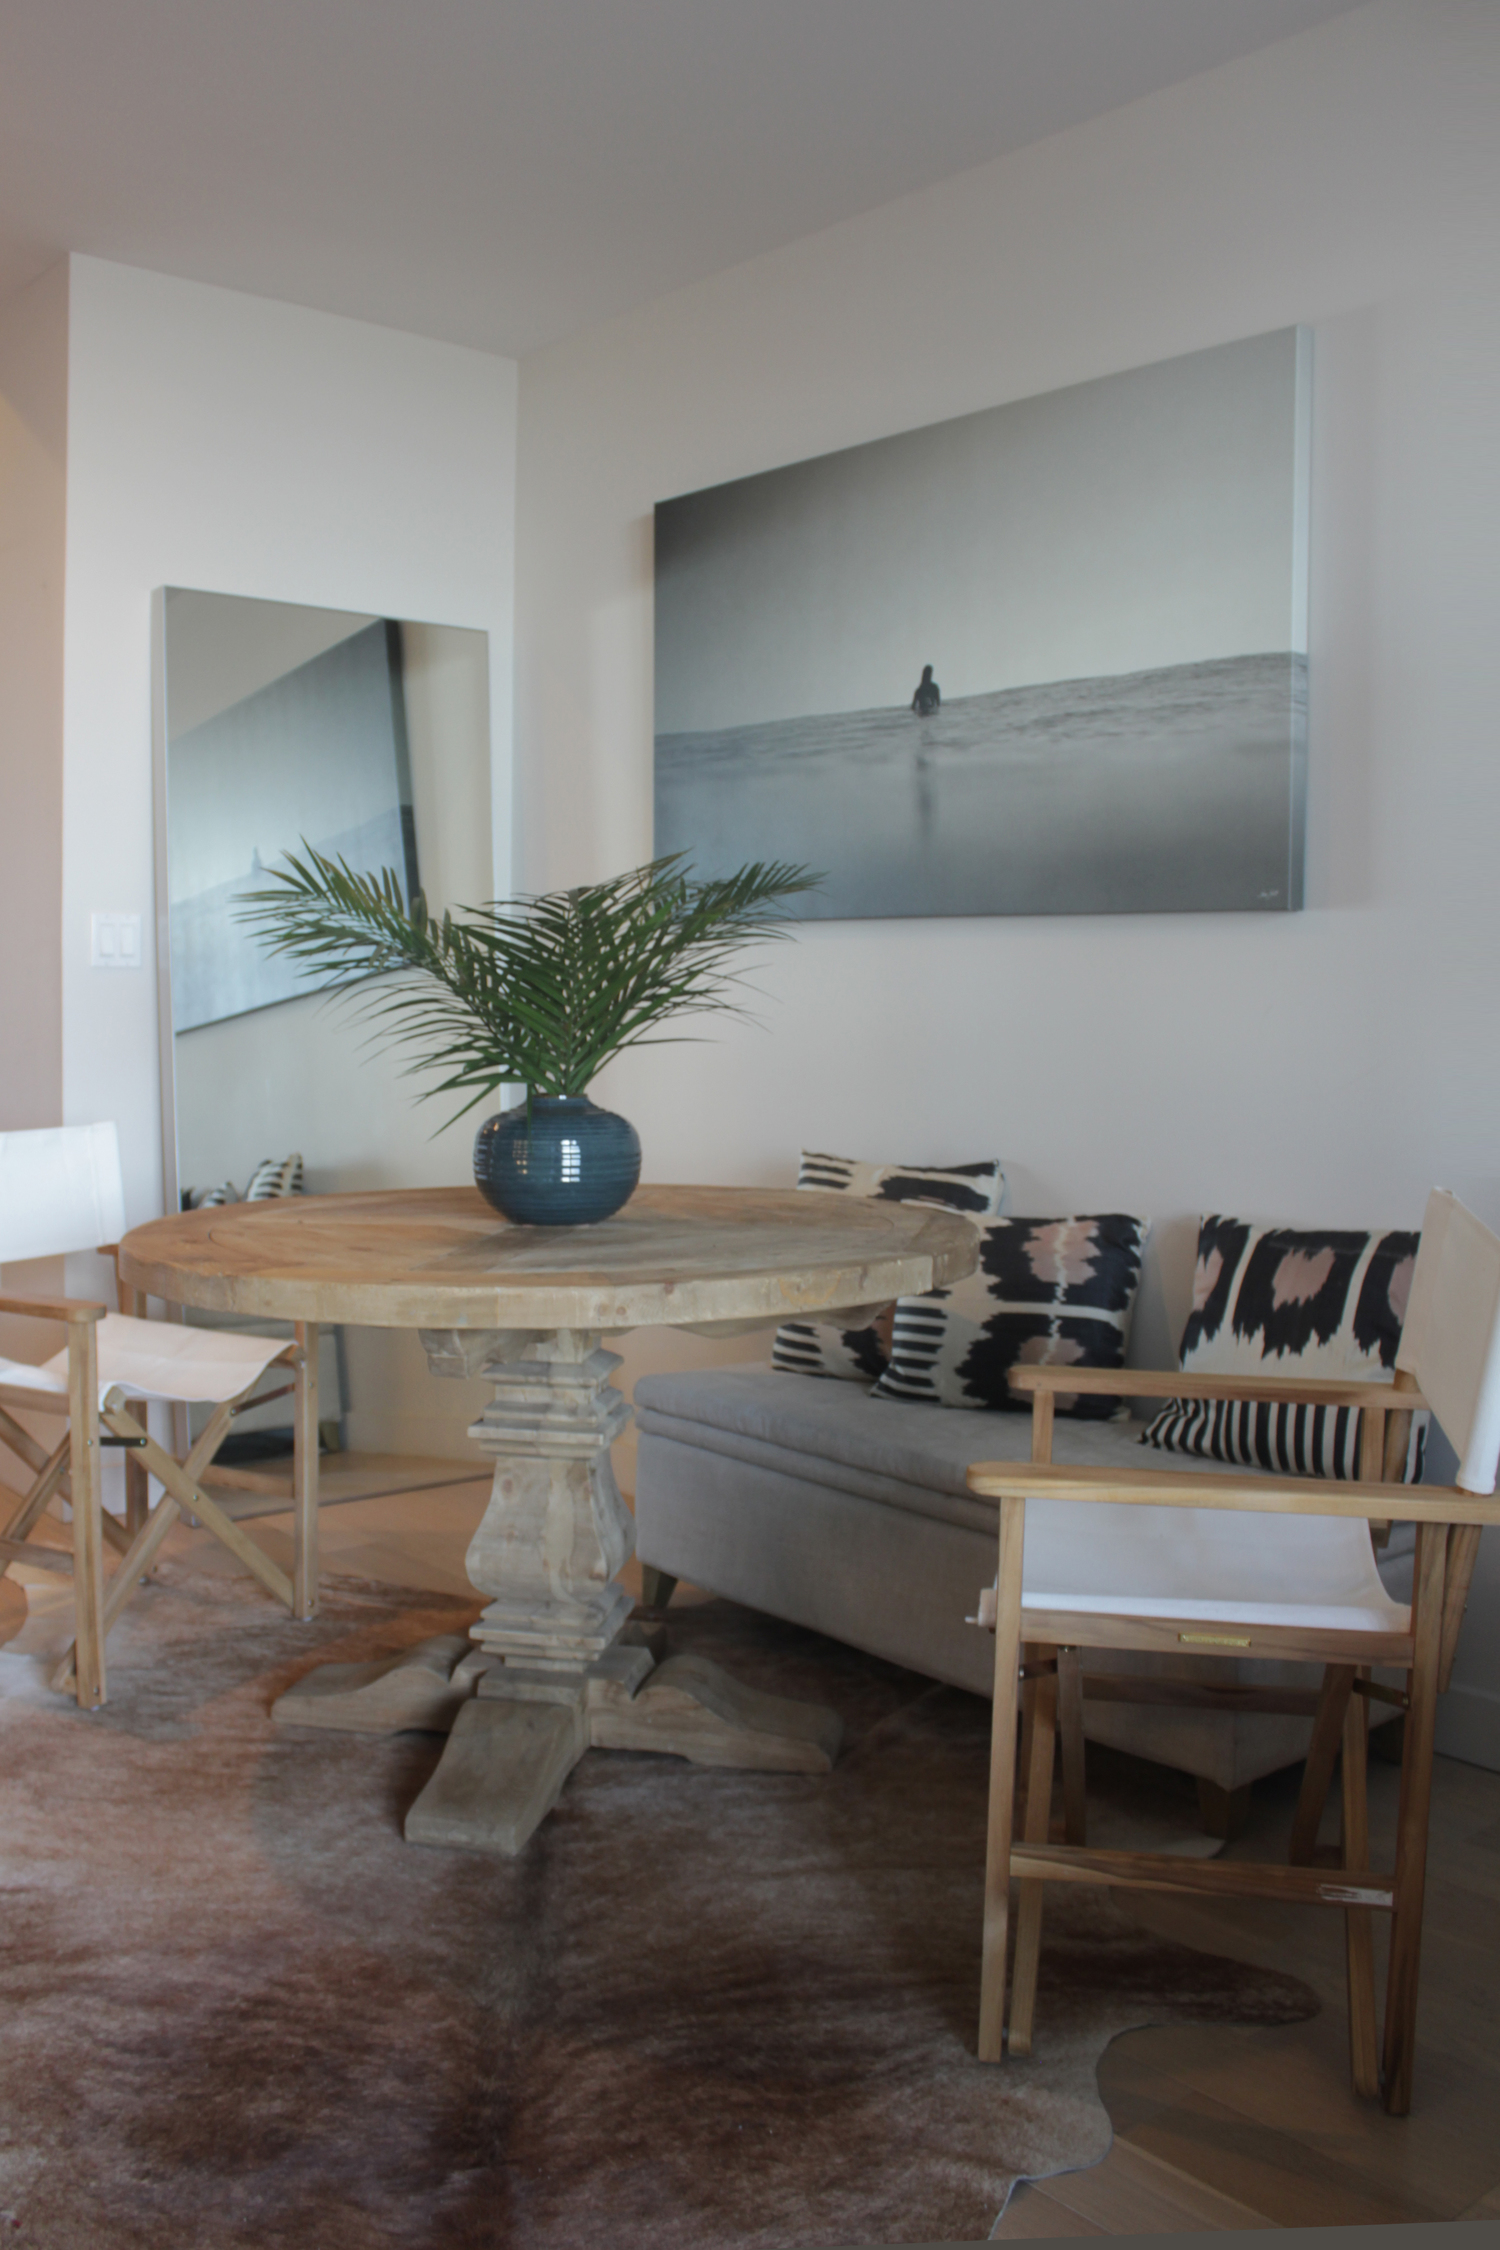
The bench in her dining are was originally the ottoman in her seating area - but I wanted to break up the linen ottoman & linen sofa so we added the CB2 coffee table (which we then scored on Craigslist) & moved the ottoman into the dining area for additional seating. 


Here's some photos so you can see how her dining, sleep space, & sitting area relate to each other:


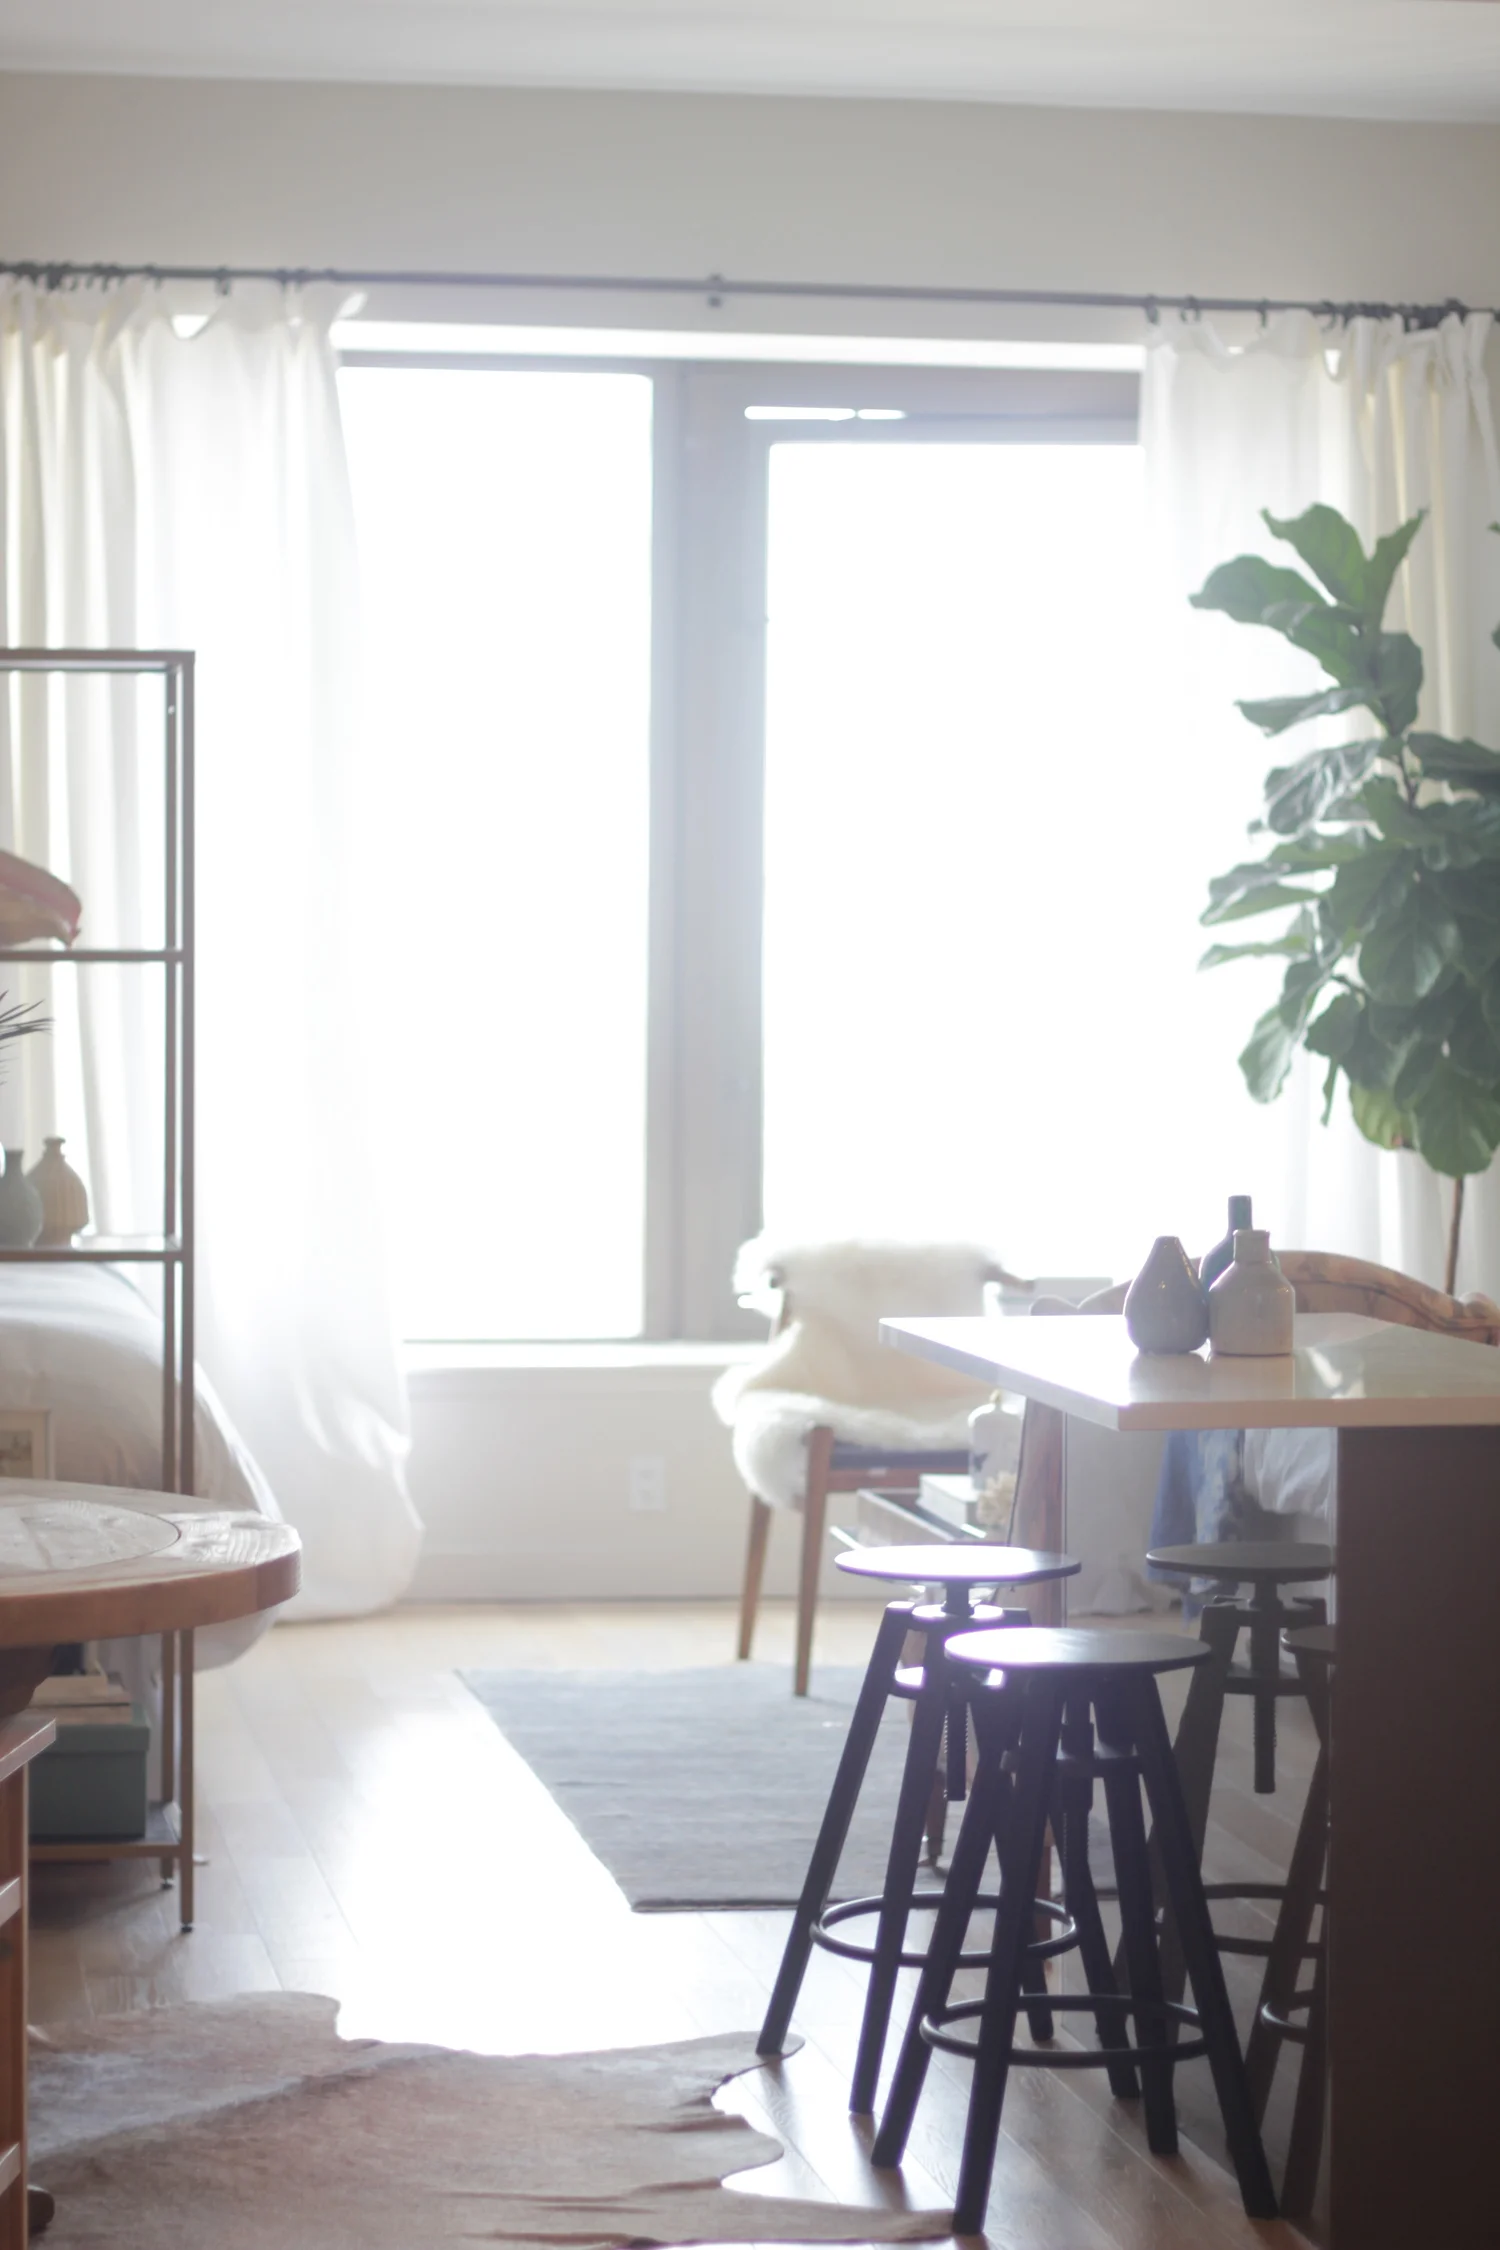
When Kilee visited my apartment, she loved my DIY gold Ikea shelves, so she used three to divide her dining area from her bed & living room space. Didn't they turn out fabulous?

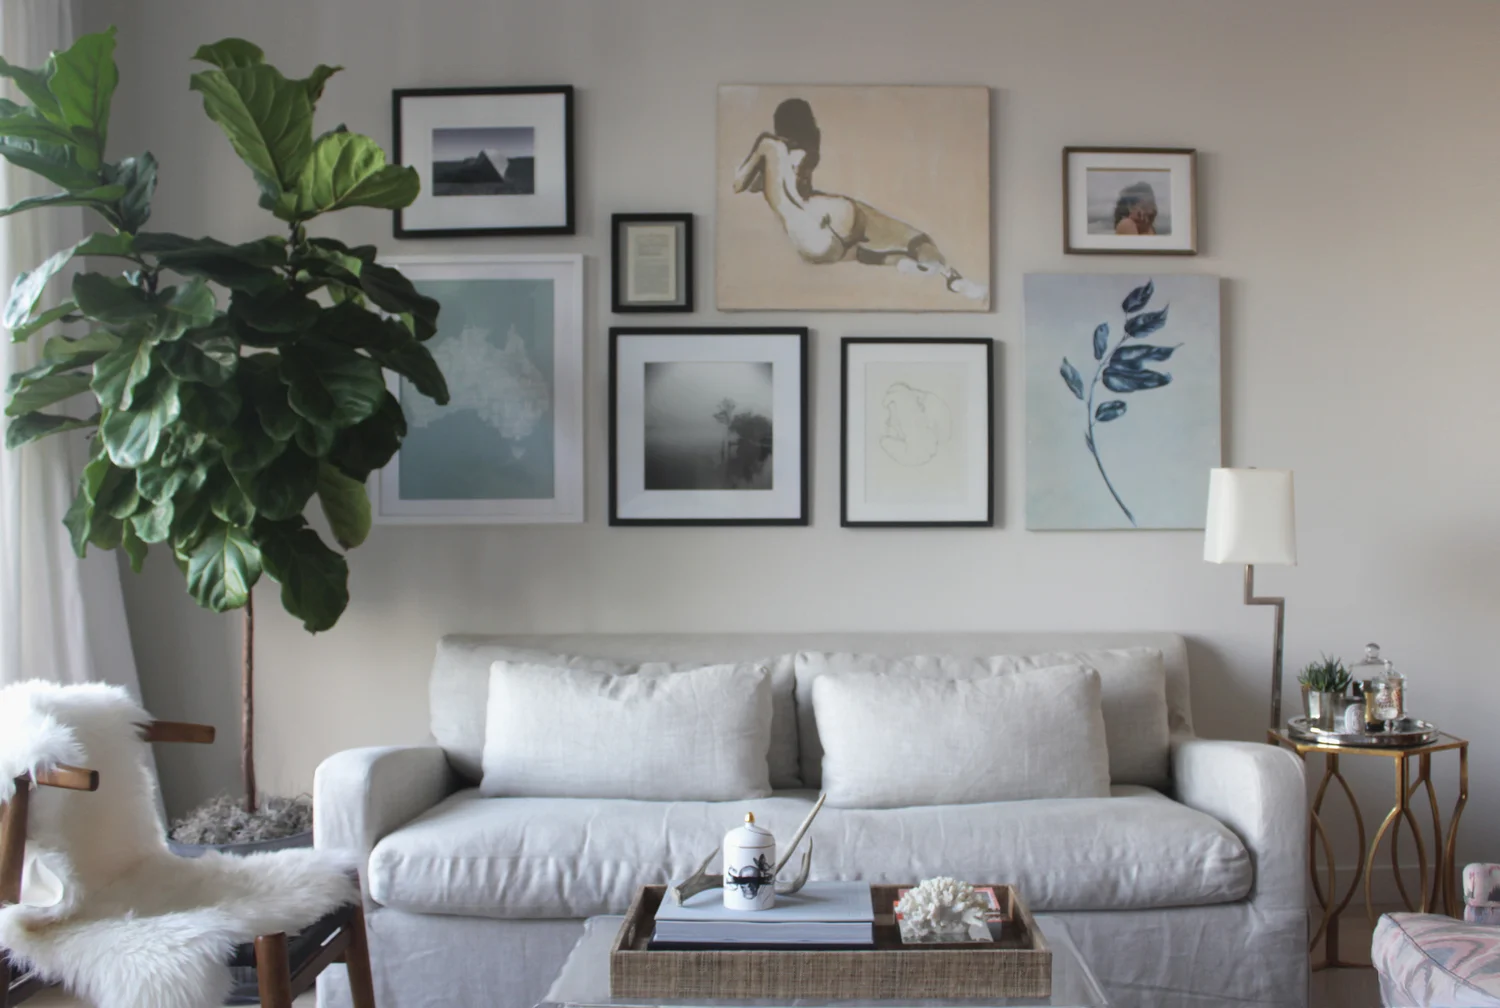
I love adding texture in mostly neutral spaces to create interest, in her living area we draped this faux sheepskin over her West Elm John Vogel chair to cozy it up, paired this raffia tray to continue the coastal vibe, & finally a fig tree always makes a space look & feel fresh & welcoming. 


Her rug is from Turkey - it's gorgeous - and I love that the lucite coffee table doesn't cover up any of the beautiful colors. 


Finally, with her bed space, we orientated her bed length-wise simply by layering pillows against the wall to have it act more as a daybed. I love this approach because instead of hiding it away, it opens it up as additional seating, preventing guests from feeling like they are invading their bedroom. The Juju hat is the perfect finishing touch to her romantic resort retreat. 


I adore how this space came together & it was only that much more fun because Kilee has incredible taste & is just the sweetest person to boot! Does any part of the design really resonate with you? I'd love to know!

Sources for Bedding:

Striped Lumbar Pillow

Block Print Pillow

Reversible Throw

Dot Pillow

Juju Hat

Our Powder Room Before & After

I'm so excited to finally share the before & after photos of our powder room! Moving from a tiny studio in NY to a house in Michigan has been overwhelming at times in terms of what project to tackle next. My husband & I had been long distance for 6 years before I moved to Michigan & in that time I grew to loathe the little mustard yellow bathroom on the first floor. So although it was not a high priority to renovate it for my husband he knew how much I hated it so he lovingly dived in to replace the sink, lighting, & fixtures. For a while before, I had been mentally keeping note of what artwork I would use to create a gallery wall so I was excited to make it come to life. 

Here's some of the before photos (apologies for the quality, and I look like a troll!):

 
static1.squarespace.jpg
 

As you can see the original sink was an outdated cabinet, the fixtures were a horrible brown – overall everything felt heavy so I wanted to create a space that felt super light, starting with the light gray paint (Benjamin Moore's Metro Gray) & a pedestal sink. With many spaces to spruce up, I didn't want this update to be a major investment - pedestal sinks are relatively inexpensive & I always think they are so versatile. This one is from Lowes. 


I searched forever to find the perfect faucet, again I wanted it to look great but not break the bank - finally scored these!


The mirror (from One Kings Lane) definitely inspired a black & white theme but I wanted to keep it fresh by layering in color via the gallery wall & mixing metals with the gold table & roman shades juxtaposing all of the polished nickel hardware. 

It was tricky finding black & white monogram towels that I loved the look of - I ended up getting ours from Pottery Barn & think they are the perfect fit.

I always wanted a ChanceLee gesture study drawing & this room seemed like the perfect opportunity to display one. 


Privacy is never really an issue in this powder room so I decided I'd do faux romans for the window coverings (DIY here). Again, I had been wanting to use Caitlin Wilson's gold scallop fabric for sometime and I loved that it would play into the mixing of metals theme.


Finally, you know I love a gallery wall & this one was definitely a labor of love! I had purchased the vintage gem prints on Ebay last year & I had always loved the blush "Love" print from SS print shop. As I was laying out the wall I saw many of the gallery wall prints read quite feminine so I layered on the sexy Marble Aestate print, an amazing cheetah from Pink Pagoda, & striking Influential Madebygirl print to anchor all of the sweetness. 


I am so in love with how it came together! It's a far cry from the sad yellow space it was!

No Sew Faux Roman Shade DIY

Hi All, I'm so excited to share this no sew faux Roman DIY with you! I've used Caitlin Wilson's Gold Scallop fabric to make three of these for our powder room & have begun using Domesticate's charcoal dot fabric to make faux romans for my office. They are an amazing, affordable option when you want to dress up your windows but you don't need the privacy.

What you'll need:

Your fabric for the shade (4"-5" wider than the total width you want to achieve & a full yard in length)

Fabric for lining

Lots of hot glue!


Ok, first you want to take a piece of fabric that is about 4" wider than you need & in terms of width & for length I recommend using the full yard so you have enough fabric for making the folds & hanging it as low as you want.

For my powder room, I wanted the romans to be inside mounted, the inside of my window is 21" so I cut the fabric to 25" wide. This gave me 2" to fold my fabrics for the border. I had to pay attention to that each shade looked exactly alike with the scallop pattern so after I made the first one I kept referencing it to make sure my new folds were in line with what I did initially (so the bottoms of the folds hit at the bases of the scallops and the sides lined up with the sides of the scallops). If you are nervous I would start with a solid fabric. 

So below, is all my sides and bottom folded to meet my pattern needs & width needs, then you'll measure to make sure the width is what you need (again for me 21") at this point the length doesn't matter.

Next you are going to iron down the sides and bottoms so they are crisp. 

Then hot glue the bottom flap, then the sides. Next you are going to take a piece of fabric cut to the entire size of the back of your fabric to serve as a liner. This will make the folds look more full & block out more light, making it look beautiful and not like a cheap faux shade :) I was being super thrifty and used an old sheet to line mine so you'll see it's lined with two separate pieces. To avoid headache I would recommend using a continuous piece of fabric for your lining. 

Then you hot glue that lining just inside your hems and the top of the fabric. (Again you'll have one large piece here as oppose to my partial lining. 


Ok now you are looking at how you want your folds to be. You'll see, again, I followed my pattern as a guide, I wanted the bottoms of the scallops to line up so I finessed it until I got it just right. If you have a solid fabric I think it's about 5-7" of fabric between each fold. This requires just manipulating the fabric. Work with it and you'll figure it out. 

Now I really didn't hot glue that much with the folds. With each I did a dot of glue on the front under the left & right corners & under the middle of each fold. Then I flipped the shade over and did the same in the back. I recommend starting with this amount to make sure the folds look even, once you are happy you can add more glue to the back or front as needed for additional support. 


Once completed, I actually hung just with tacks on the left and right sides of each shade. On each of these there in about 10" of the extra lined length of the shade hanging in the back that I just kept on. Then if I ever want them lower I can adjust & it acts as additional lining to boot!