If you follow me on Instagram, you may have heard we’ve gotten an apartment in Atlanta. My husband and I have always planned on moving to a warmer city and we’ve really enjoyed our visits to Atlanta so we are giving it a try! (I’m also quite excited about the vibrant design community in ATL). Until our boys are off to college we’ll be keeping our place in Ann Arbor so I’ll still be sharing updates there.
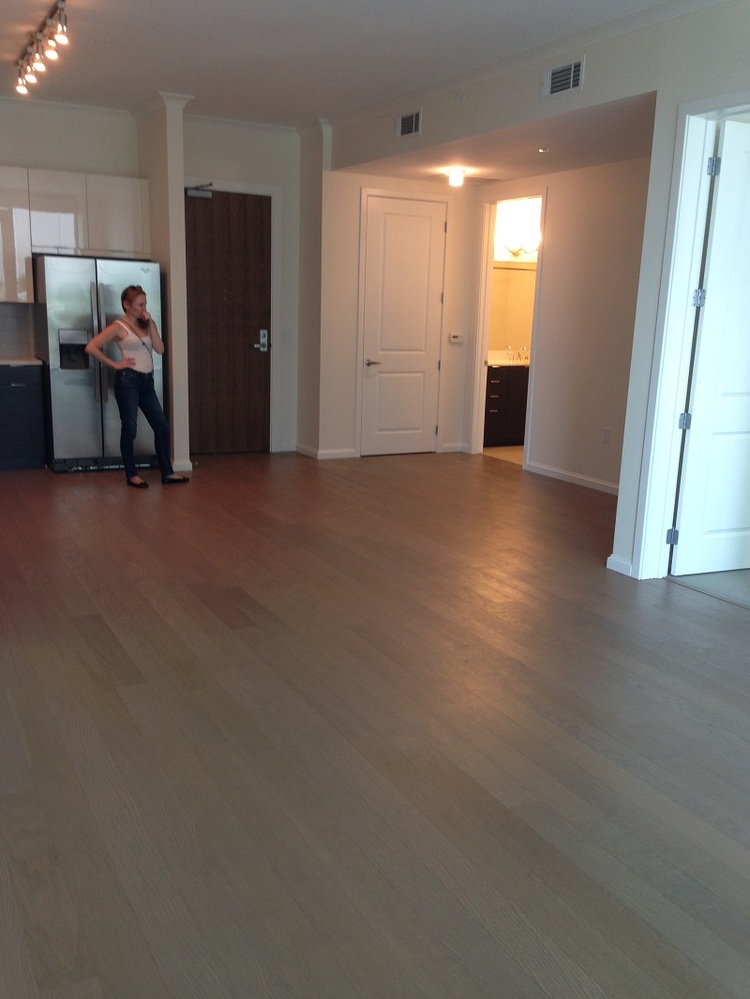
Our new apartment will be our first home that does not provide us with various design constraints, our NY studio, at 700 sq. feet, limited our functionality of the space. Here’s a look back at it:
I loved it but entertaining company, having a proper place to eat a meal, etc. was tricky at best.

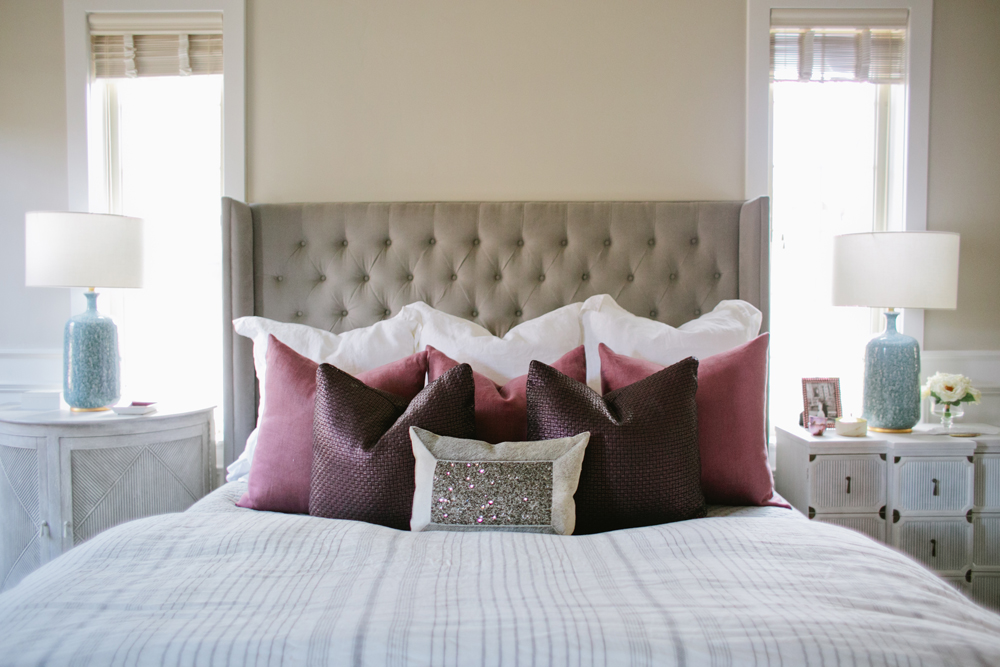
With our Ann Arbor home, my husband had designed it before we were together so it’s been long process of working with what he had and brightening up the aesthetic. He readily admits he had no idea what he was doing and with the guidance of a friend, everything was very heavy. Here are some prime examples of a few rooms ‘before’ and ‘afters’, take the full tour of these spaces here:

before

after

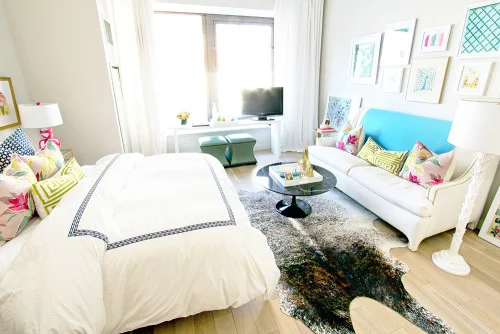
before

after
So I’m so excited to design our new place, it’s a bright one bedroom with an open floorplan. Here are some terrible iphone photos of it, starting with the bedroom:

Open living/dining area:


We eventually want to downsize to a smaller place in Ann Arbor so we are transitioning a few pieces to ATL. Given that, it will be fun to share with you how I fill these ‘holes’ with other furniture & décor. I’ll very much be working with what we have so see how I master the mix!
In the coming weeks I’ll be sharing my design plans for our new place starting with our entry, I hope you’ll follow along in my scheming! Here’s a peek at paint ideas for the entry space, stay tuned for more: